Water on a basement floor rarely comes from where it is found. It runs along the top of the footing, behind drywall and under flooring before anyone sees it, and the obvious crack nearby may have nothing to do with it. That is why the first job in any repair is not waterproofing — it is finding the source.
This article explains how to find the source of a basement leak the way a professional does: the questions we ask, the order of the checks, the tests we run and the tools we use when the source is hidden. It also shows what you can check yourself before calling anyone.
Why Finding the Source Comes First
The same wet spot can have very different causes, and each needs a different repair:
- Groundwater through a crack — crack injection.
- Water at the floor–wall joint — interior drainage.
- Surface water from a downspout — a drainage change outside.
- A dripping pipe behind the wall — a plumber.
- Condensation on cold concrete — humidity control.
- Sewer water from the floor drain — a backwater valve.
Treating the wrong one wastes money and leaves the leak in place. A good basement leak inspection ends with a clear answer about where water enters and why, before any price is given.
Step 1: The Questions a Professional Asks First
Leak detection starts with history, because timing is the strongest clue.
- When does it happen? During heavy rain, a day after rain, during snowmelt, or even in dry weather?
- Where does the water appear first? On a wall, at the base of the wall, in the middle of the floor or near a window?
- Is it clear, muddy, or does it smell? Muddy water suggests soil washing in through a crack or failed drain; a sewage smell points to the drain or sewer.
- What has changed recently? New gutters, landscaping, a patio, a renovation or a new appliance.
- Has anything been repaired before? Old patches and injection ports show where water has come in before.
Water only during or right after heavy rain points to surface water. Water a day later, or for days after, points to groundwater and drainage. Water in dry weather points to plumbing or condensation. Our guide on why a basement leaks only when it rains goes deeper into rain-related causes.
Step 2: Reading the Evidence on Walls and Floors
Where is water coming into my basement? The marks it leaves answer most of that question.
| What you see | What it usually means |
|---|---|
| Wet streak starting partway up a wall | Water entering through a crack, tie-rod hole or pipe gap at the top of the streak |
| Water along the bottom of the wall, no streak above | Floor–wall joint seepage from groundwater pressure |
| Water in the middle of the floor | Slab crack, floor drain or a plumbing line under the slab |
| White powder on the wall | Water has moved through the wall over time — see efflorescence on basement walls |
| Rust on the insulation strip or nails at the bottom of a finished wall | Repeated wetting behind the drywall |
| Stains on the sill plate or joists | Water entering above the foundation — siding, windows, decks or the roof |
| Mud lines or soil on the floor | Water carrying soil through a crack or a broken drain |
Step 3: Condensation or Leak in the Basement?
Condensation or leak in the basement is one of the most common questions, and the answer decides whether you need waterproofing at all. In humid summer weather, warm air meets cool concrete and water pipes and condenses, leaving damp walls and wet floors that look exactly like seepage.
The simplest test is the foil or plastic test. Tape a 30 × 30 cm square of aluminium foil or plastic wrap tightly to the damp wall and leave it for a day or two:
- Moisture on the room side of the foil — condensation from humid indoor air.
- Moisture on the wall side — water coming through the concrete.
- Both sides wet — both problems at once.
Condensation is solved with a dehumidifier, better air circulation and insulated cold-water pipes, not with excavation.
Step 4: Is the Basement Leak Plumbing or Foundation?
Is a basement leak plumbing or foundation? Professionals separate the two with a few checks:
- Read the water meter with every tap and appliance off. If it keeps moving over an hour, a supply line is leaking somewhere.
- Run fixtures one at a time — the washer, the upstairs shower, the dishwasher — and watch whether the wet area grows.
- Check the floor drain and cleanouts for water rising or a sewage smell, which points to the drain or sewer.
- Look at the weather. A leak that appears on dry, sunny days is almost never groundwater.
If water is coming from the drain system, a drain camera inspection shows cracks, roots, sags and collapses in the pipe without digging. Our article on drain backups in Toronto homes explains the usual causes.
Step 5: Outside Checks Around the Foundation
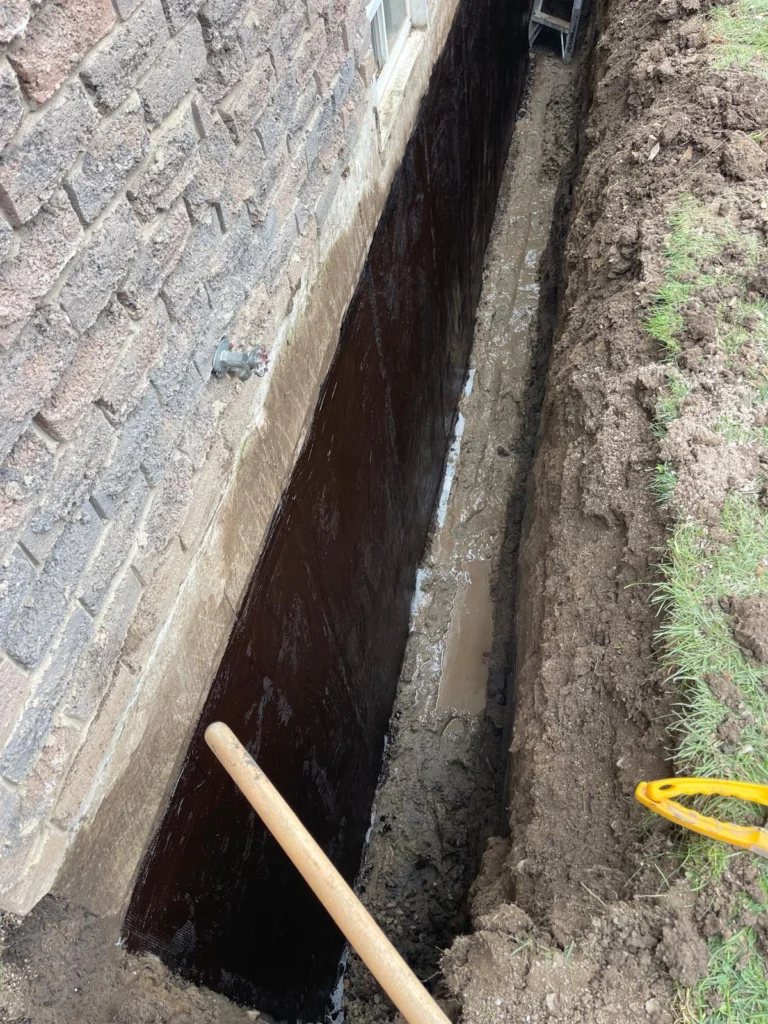
Most foundation leaks begin outside. A professional walks the perimeter directly above the leak and looks at:
- Where every downspout discharges and whether extensions are attached.
- The slope of the soil, patios and walkways next to the wall.
- Window wells: depth, drain, debris and the seal around the window frame.
- Cracks in the parging above grade, gaps around pipes and wires entering the house.
- Gardens, planters or soil piled above the top of the foundation.
- The sump pump discharge: does it drain away or run back toward the house?
Step 6: The Basement Leak Hose Test
When the evidence points to an area but not to an exact spot, a basement leak hose test recreates the leak on demand:
- One person runs a garden hose at low flow on the ground next to the wall, starting low and to one side of the suspected area.
- Another person watches the inside wall with a flashlight.
- Every 10–15 minutes the hose moves to the next section, or higher — onto the window well, the downspout area, the siding above.
- When water appears inside, the last hose position marks the entry point.
The test is slow and should be done with care: too much water at once can flood a basement that only leaks a little in rain, and soaking a finished wall to “see what happens” causes damage. It also cannot reproduce a high water table, so a negative hose test does not rule out groundwater.
Step 7: Tools for Foundation Leak Detection
For hidden or intermittent leaks, foundation leak detection uses instruments:
- Moisture meters read dampness inside drywall, wood framing and concrete, mapping how far water has spread.
- Thermal (infrared) cameras show cooler, wet areas behind finished walls and floors.
- Drain cameras inspect weeping tile, floor drains and the sewer lateral from the inside.
- Hygrometers measure humidity to confirm or rule out condensation.
None of these tools replaces judgement. A thermal image shows where a wall is cold and possibly wet; it does not show how the water got there.
How to Find a Leak in a Finished Basement
How to find a leak in a finished basement without tearing out every wall:
- Start with moisture readings along the bottom of the drywall and the baseboards, every half metre.
- Lift carpet at the corners and check the underpad and tack strip for staining.
- Remove baseboard in the wet area and look at the bottom plate and the drywall edge.
- If readings and stains point to one section, open a small inspection hole or cut the vapour barrier there, rather than removing a whole wall.
Professionals then look at the concrete behind the insulation for cracks, tie-rod holes, damp lines and efflorescence. This targeted opening is usually cheaper than guessing and repairing the wrong wall.
How to Find a Leak in a Foundation Wall
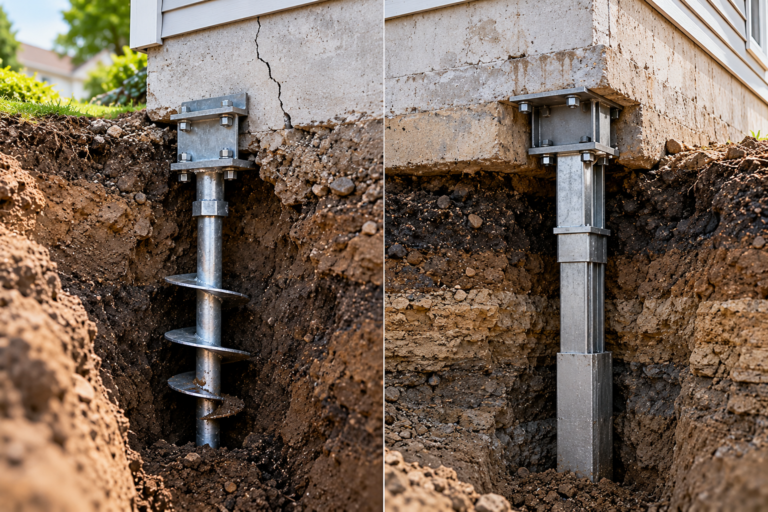
How to find a leak in a foundation wall that is exposed is mostly a matter of looking closely after rain: vertical and diagonal cracks, form-tie holes, honeycombed concrete near the base, gaps where the wall meets the floor and around utility pipes. There is often more than one entry point, so keep looking after the first crack. Our guide on how to tell if a foundation crack is serious helps separate leaking shrinkage cracks from structural ones.
What a Professional Basement Leak Inspection Includes
At Leaquida, a basement leak inspection usually includes:
- A conversation about when and where water appears, with any photos you have.
- An inside check of walls, floor, joint, windows, the sump pit and floor drain.
- Moisture readings and, where needed, a thermal camera scan.
- An outside walk-around: downspouts, grading, window wells, cracks and discharge lines.
- A clear explanation of the source and the repair options, with a written quote.
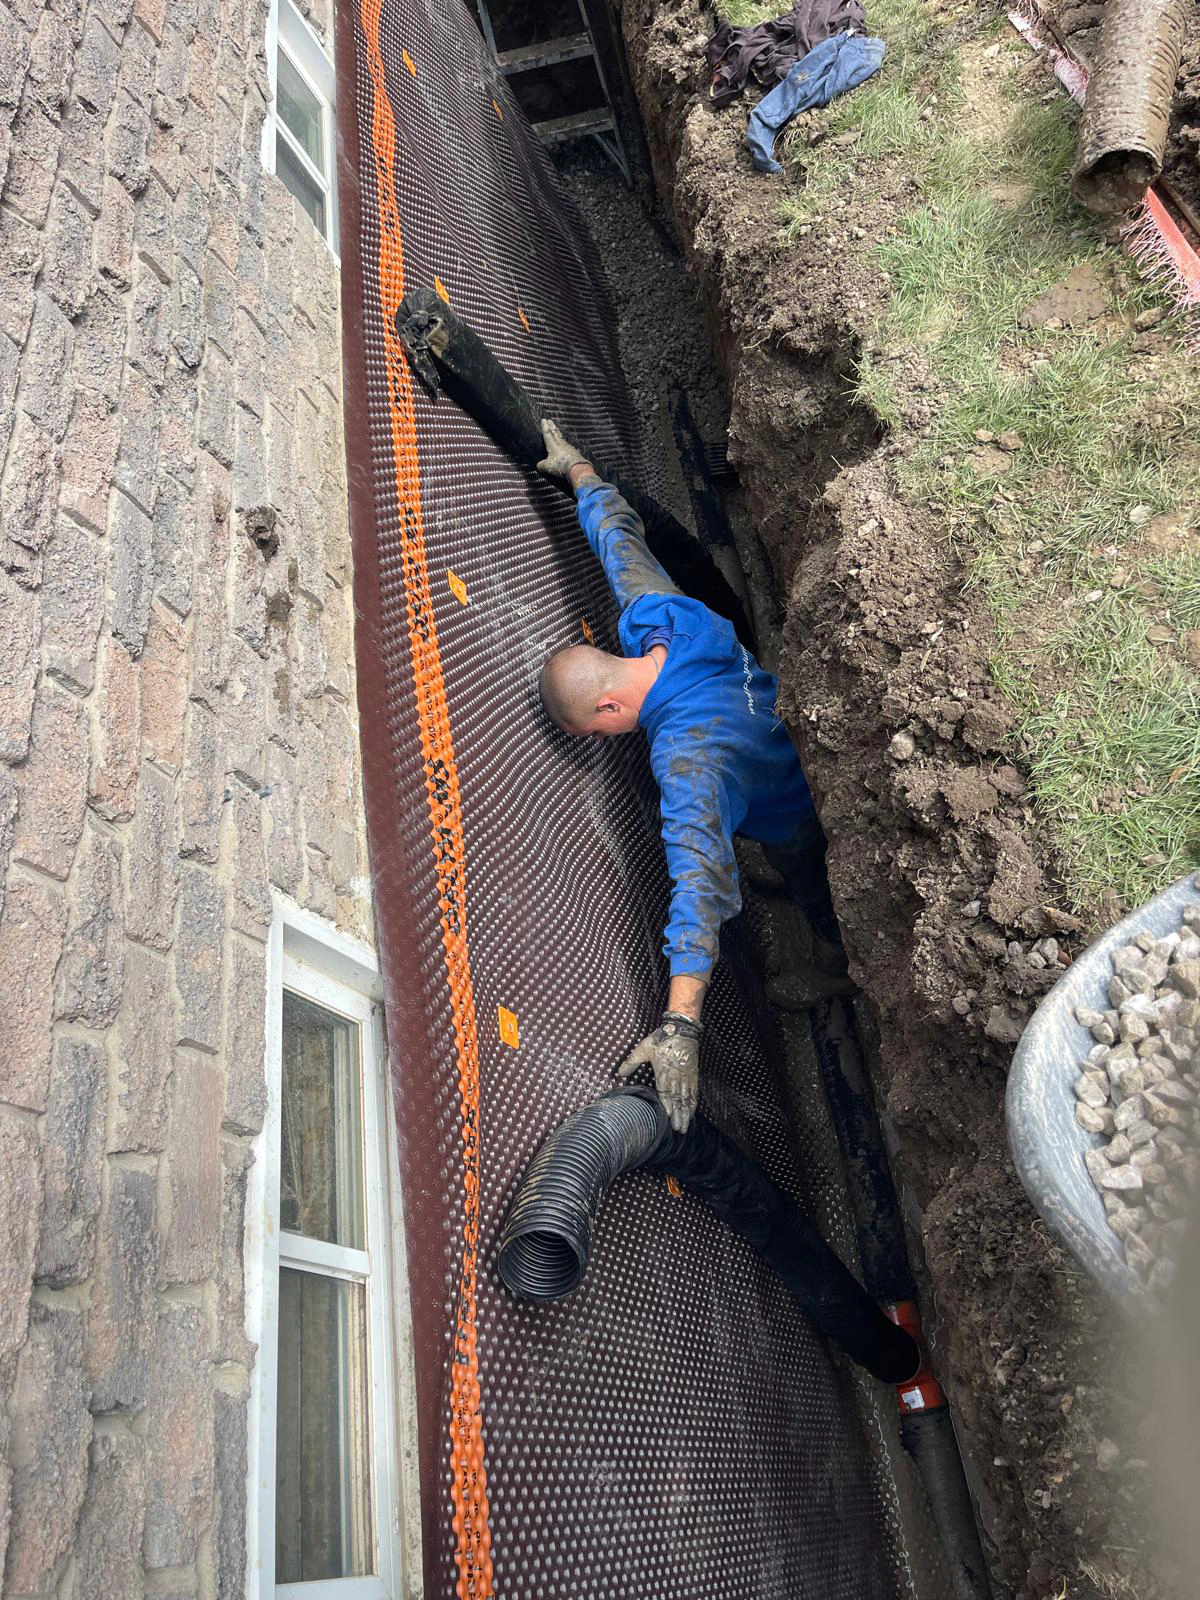
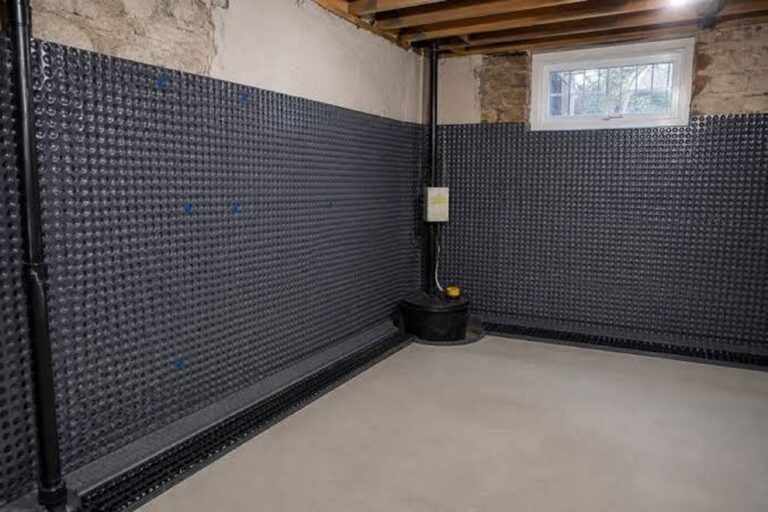
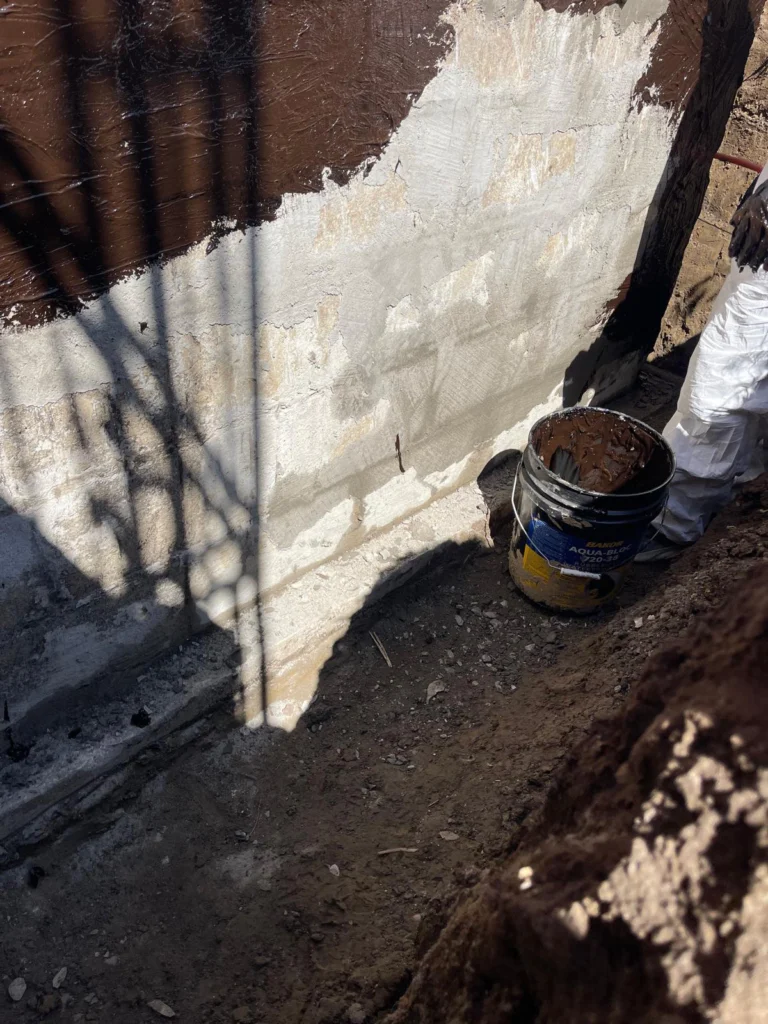
Depending on what we find, the repair may be foundation crack repair, basement leak repair, interior waterproofing, exterior waterproofing or a drainage change outside. Inspections across Toronto and the GTA are free.