
Many homeowners face the problem of a wet basement. It cannot be ignored. A small leak can turn into a full-blown waterlogging, which causes significant damage not only to the property but also to the health of the occupants. In this case, it is necessary to waterproof a basement to fully protect it from leaks, mould, fungus, and other problems.
Understanding Basement Water Problems
Before delving into the details of how to do quality waterproofing, it’s worth exploring the importance of this process. A wet basement leads to several problems, from damage to your home’s foundation to pest infestations. If the structural integrity of your building is important to you, you need to worry about moisture protection as soon as possible.
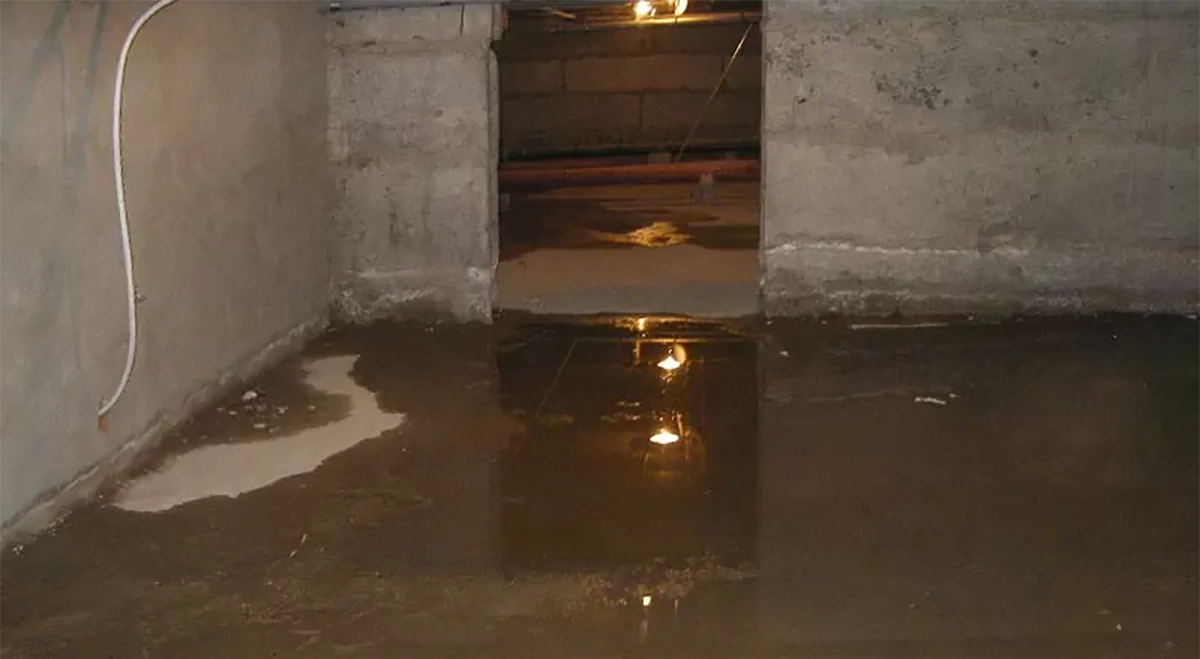
What Causes Basement Leaks?
A variety of reasons can trigger leaks:
- High hydrostatic pressure, which will push water into the basement through the slightest cracks and other defects;
- Poor drainage system or improper soil – if the soil around the house is rich in clay, water will be constantly pushed to the house foundation and basement walls;
- Poor gutters or lack of maintenance – gutters are responsible for draining water, and if they are clogged, damaged, or improperly installed, flooding will result;
- Condensation – warm air carries a lot of moisture; when it comes into contact with a cold wall, condensation occurs, leading to dampness and mould growth;
- Foundation defects – cracks in walls and floors are a great place for moisture to enter.
Common Signs of Water Damage
Several common signs can indicate the presence of a water leak in your basement:
- The appearance of a musty, damp odour;
- Condensation on pipes, walls, or windows;
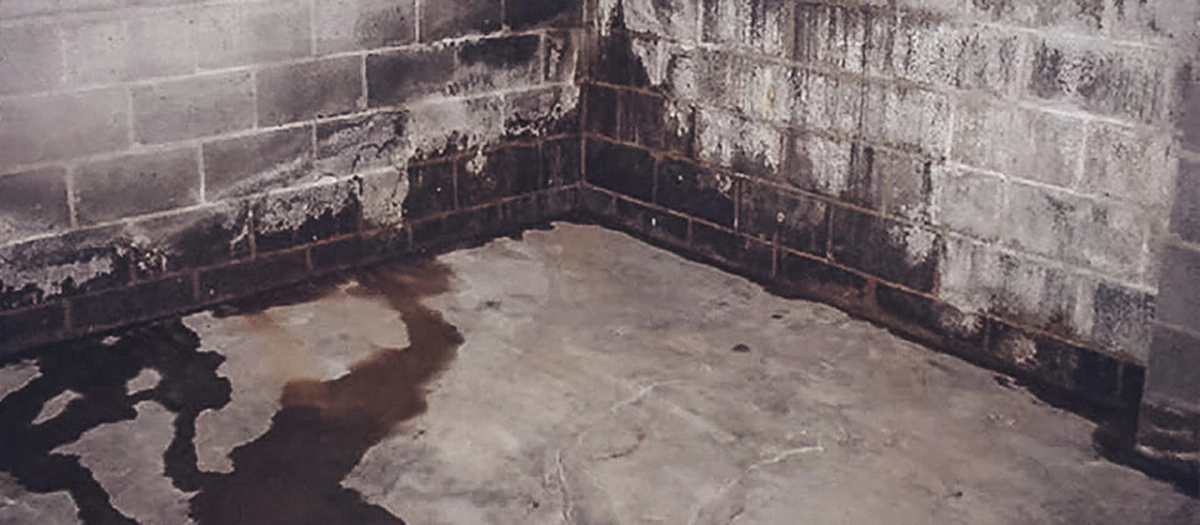
- Water seeping through the walls or wet marks on the surface;
- Stains or blistering on the wall covering – the colour of the wall covering may change, the wallpaper may peel, and the paint may blister;
- The presence of fungus or mould.
If any of the above signs were noticed, you need to address the problem urgently. If ignored, the condition will only worsen over time. The sooner action is taken, the easier it will be to repair the leak.
In many cases, these signs appear after heavy rain or snowmelt, which indicates that the issue may be related to exterior drainage or groundwater pressure.
Interior vs Exterior Basement Waterproofing: What’s the Difference?
Basement waterproofing can be done from the inside, the outside, or by combining both methods. The right approach depends on the source of the moisture problem, soil conditions, and the structure of the foundation.
- Interior waterproofing focuses on managing water after it enters the basement. This typically involves sealing cracks, installing drainage systems, and using sump pumps to redirect water away from the home. It is often faster and more affordable but does not stop water from reaching the foundation walls.
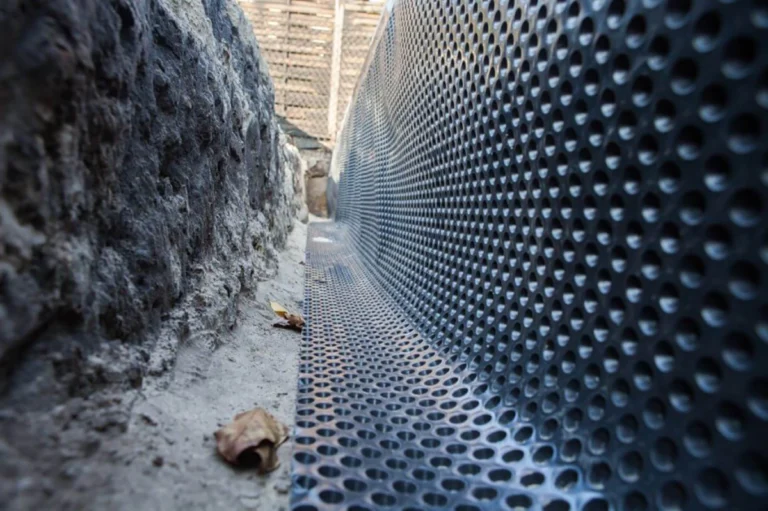
- Exterior waterproofing, on the other hand, prevents water from entering the structure in the first place. This method includes excavating around the foundation, applying waterproof membranes, and installing drainage systems such as weeping tiles or French drains. It is more complex but provides long-term protection by addressing the root cause of the problem.
In many cases, the most effective solution is a combination of both methods. A professional assessment is usually required to determine the best approach for your home.
Tools and Materials You’ll Need
If you are interested in how to do basement waterproofing yourself, it is worth starting by listing the necessary materials and tools. The basic ones include the following:
- trowel;
- brush;
- drill;
- a sump pump (if the water has seriously flooded the basement);
- silicone sealant;
- moisture barrier.
The specific list of everything you need depends on the extent of water damage in your basement.
Step-by-Step Basement Waterproofing Process
The exact process depends on whether waterproofing is performed from the inside, outside, or through a combined system. Exterior waterproofing usually requires excavation, membrane installation, and drainage upgrades, while interior waterproofing focuses on sealing, drainage channels, and sump pump protection.
If you’re wondering how to DIY proper basement waterproofing, we’ve put together a flowchart with 6 sequential steps. The Step-by-Step Basement Waterproofing Process typically takes 2 to 7 days, depending on the complexity of the job. The total cost of basement waterproofing can range from $2,000 to $15,000 or more, depending on the method used.
Step 1: Inspect the Basement
Start by cleaning the walls. Then, check the surface for voids and structural cracks. The damaged area should be thoroughly washed to remove loose concrete and soil and prepare it for subsequent sealing.
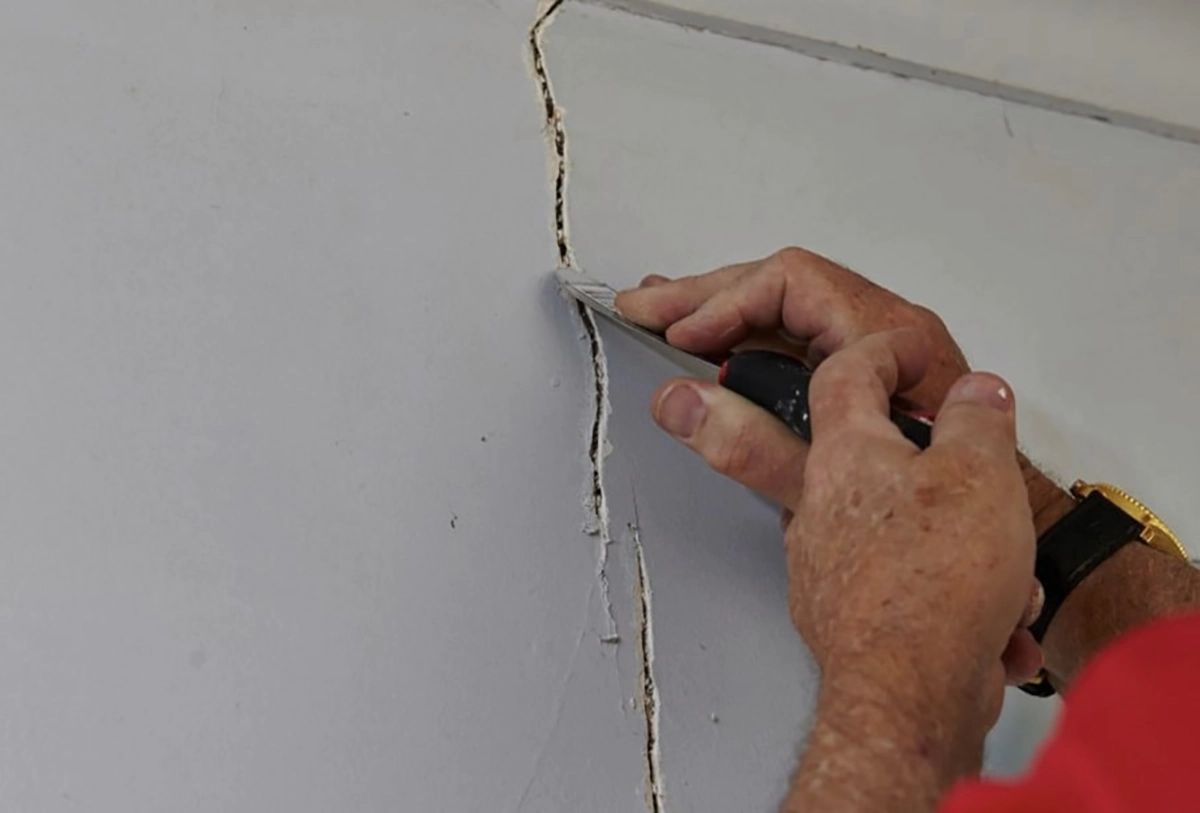
Step 2: Seal Cracks and Gaps
All cracks and gaps should be filled with a special high-strength hydraulic cement. This material hardens in a few hours. It can also be sanded to a perfectly smooth surface.
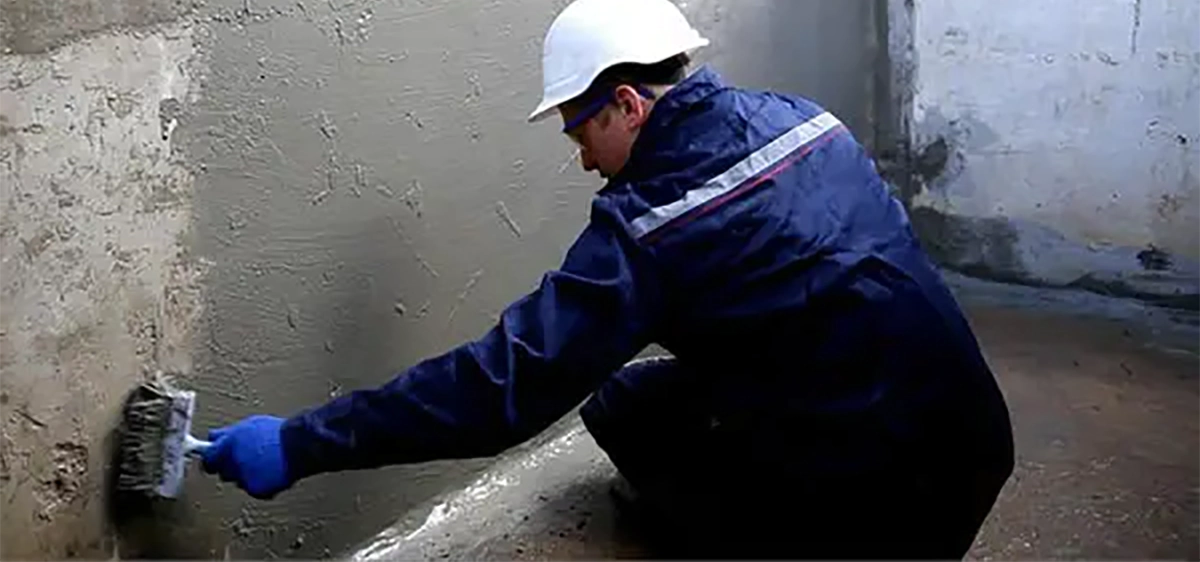
Step 3: Apply Waterproof Sealant
Once the cracks have been sealed, a special rubber membrane should be applied. It is the main component of waterproofing. The membrane is stretchable, so it can expand as the foundation shrinks. In the first layer of the membrane, a mesh for quality reinforcement can be embedded. Another layer of rubber membrane is applied on top.
When waterproofing is done from the outside, this stage may include applying an exterior waterproof membrane directly to the foundation wall after excavation and crack repair.
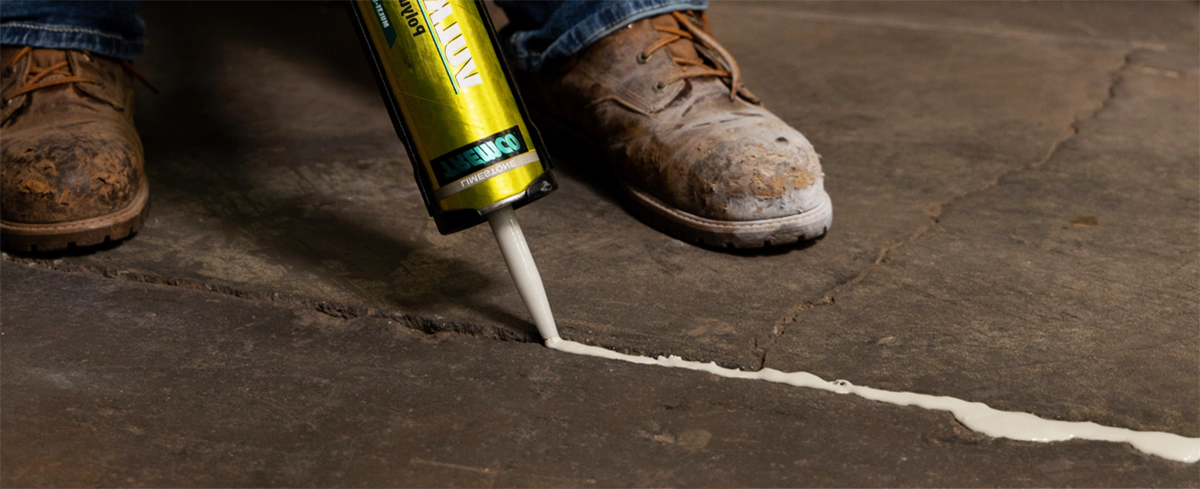
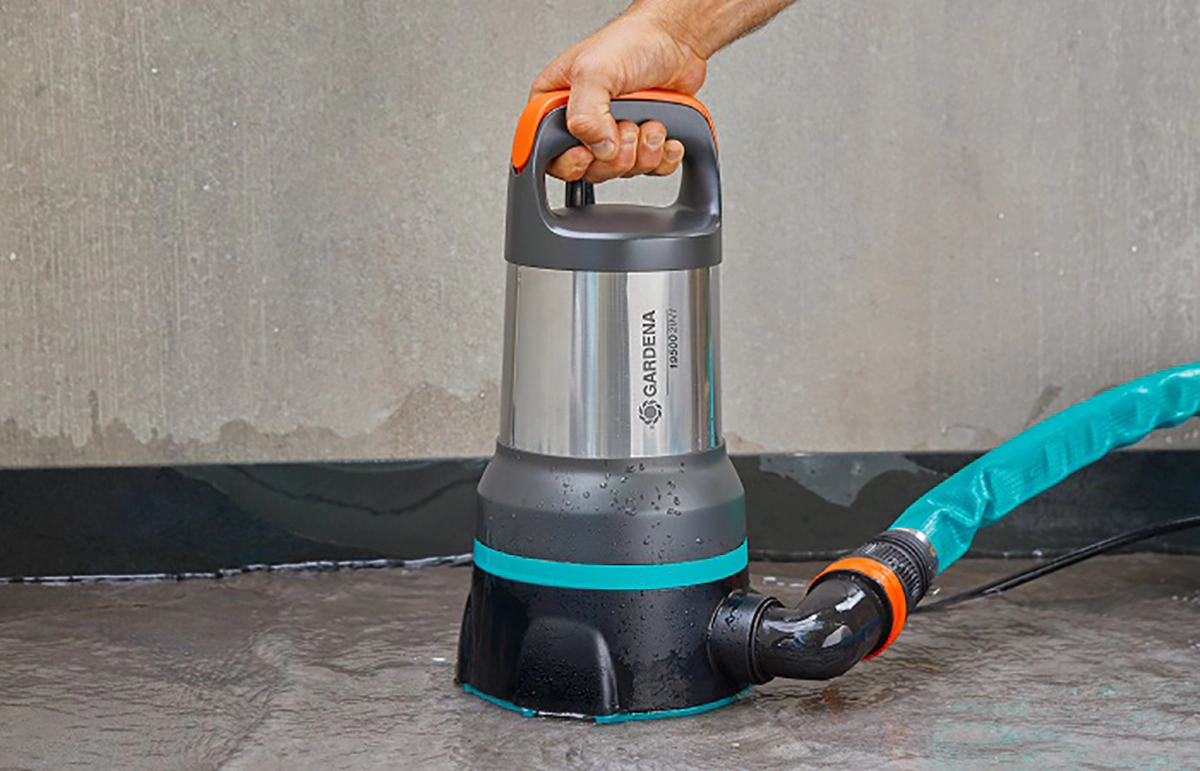
Step 4: Install a Sump Pump
A sump pump can effectively remove moisture, making it a critical tool in most foundations. The sump pump should be installed in a waterproofed basement that will not overflow with water. It will also keep debris out of the technique, extending its life.
Step 5: Improve Exterior Drainage
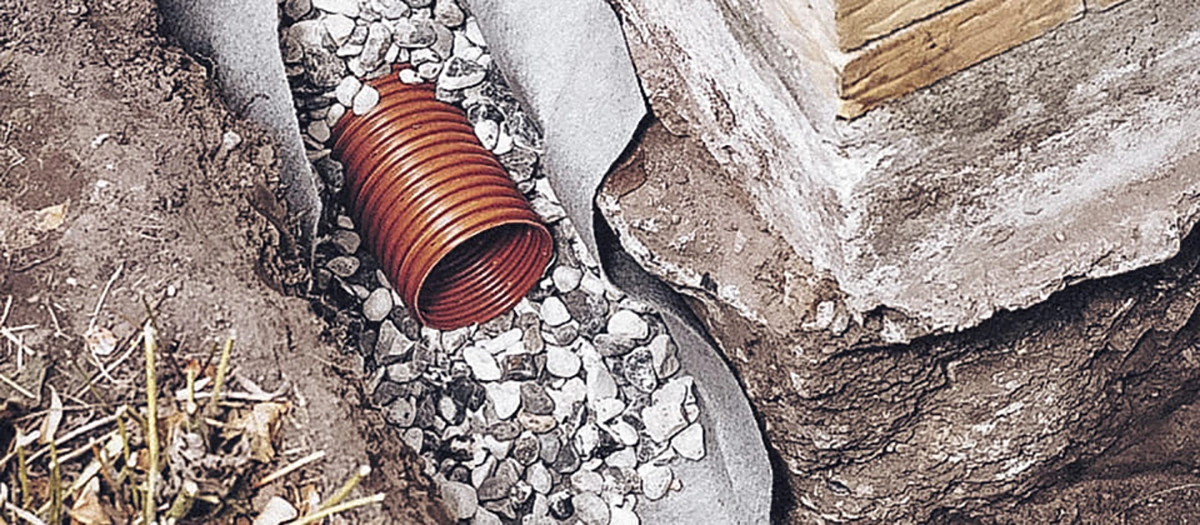
To minimise excess hydrostatic pressure on the basement walls, installing an exterior drainage slab system to channel water away is worth installing. It comprises several layers: gravel, perforated PVC pipe, and filter fabric.
For exterior waterproofing, drainage improvement usually includes installing a French drain or weeping tile system at the base of the foundation. The trench is then backfilled with gravel to help redirect water away and reduce hydrostatic pressure.
Step 6: Add an Interior Drainage System
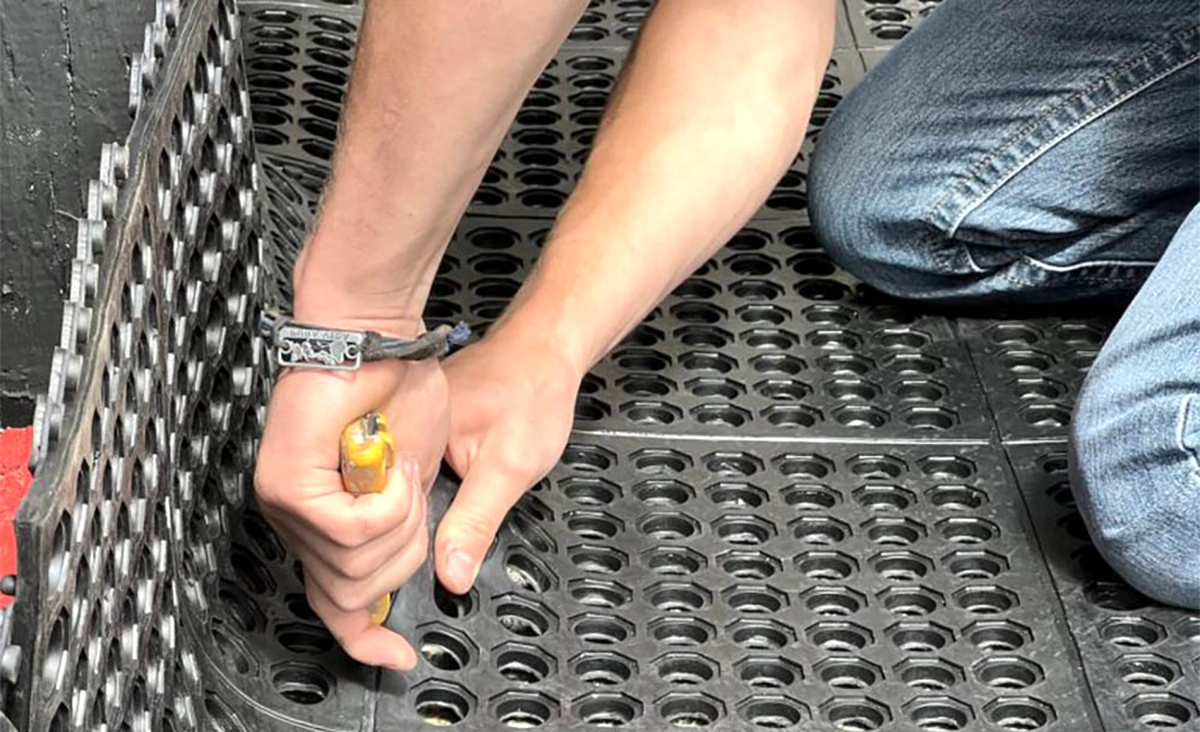
The inside of the basement should also have a drainage system. You can put a special drainage mat with moulded depressions on the floor.
DIY vs Professional Basement Waterproofing
The choice comes down to cost, scope, and the guarantee behind the work. DIY suits small cracks and light dampness. For a real leak, professional waterproofing addresses the root cause and stands behind the result. The table below lays out both so you can match the method to your situation.
| Factor | DIY | Professional |
| Typical cost | Under a few hundred dollars in materials | $2,000 to $15,000 depending on interior, exterior, or both |
| Best for | Small cracks, condensation, minor surface dampness | Exterior excavation, weeping tile, sump pumps, pressure-driven leaks |
| Diagnosis | Homeowner guesses at the source | Specialist traces the leak to its actual entry point |
| Warranty | None; repeat repairs fall on you | Labour and materials covered if the leak returns |
| Result | Temporary fix that often needs redoing | Long-term protection that addresses the root cause |
For a small crack or a bit of condensation, the DIY route saves money. For a finished basement or a leak that keeps coming back, the diagnosis and warranty that come with professional work protect your home far better than any patch. When you want the job done once and done right, our team handles how to waterproof a basement the way it should be, from the source out.
What DIY Waterproofing Can and Cannot Do
Before you decide how to waterproof a basement yourself, it helps to see where the line falls. DIY methods cover the interior side of the problem, while anything driven by outside water pressure needs a professional. The table below splits the work into what a homeowner can handle and what our team is called in to fix.
| DIY Can Do | Needs a Professional |
| Seal visible cracks with hydraulic cement | Relieve hydrostatic pressure building in the soil |
| Apply a waterproof coating to interior walls | Install exterior drainage such as weeping tile |
| Run a dehumidifier to cut condensation | Excavate to reach a failing foundation membrane |
| Reroute a downspout that dumps water at the foundation | Reverse grading that slopes water toward the house |
| Reduce surface moisture and buy time | Stop water entering under pressure at the source |
The line runs between managing water after it enters and stopping it before it reaches the wall. Interior sealants and coatings manage. Exterior drainage and membranes prevent. A homeowner with a caulking gun handles the first category, and the second is where professional waterproofing does the real work.
DIY Methods for Minor Basement Moisture
For light dampness, there are a few things a homeowner can try before calling us. These methods work on minor moisture, not active leaks, and they start with the source of the water rather than the wall itself.
- Fix the gutters and grading first. Clean and extend gutters so they carry water at least two metres from the foundation, and check that soil slopes away from the house. These two fixes solve a surprising number of damp-basement complaints without any waterproofing product.
- Seal small cracks with hydraulic cement. The cement expands as it sets and closes gaps in concrete within a few hours. Clean the crack, widen it slightly so the cement grips, pack it in, and smooth the surface.
- Add a waterproof masonry coating. A coating over the patched wall gives a second layer of protection against surface dampness.
- Control condensation. Insulate cold pipes, improve ventilation, and run a dehumidifier to hold humidity below 50 percent. This handles the foggy, damp feeling that comes from warm air meeting cold walls, which people often mistake for a leak.
These steps buy time, but they are not the same as knowing how to properly waterproof a basement. Once water pushes through under pressure, a professional assessment is the reliable next step.
Why DIY Basement Waterproofing Often Fails
Most homeowners who look up how to waterproof a basement yourself run into the same few problems. The reasons below explain why a patch that looked solid lets water back in weeks later, and why lasting results usually come from a professional.
- Ignoring the pressure behind the wall. DIY jobs treat the surface and leave the water pressure untouched. A coating on the inside face looks solid, but water building up in the soil keeps pushing until it forces the coating off or finds a new gap.
- Using the wrong materials. Standard paint sold as waterproof peels once moisture works behind it. Sealants that lack flexibility crack as the foundation shifts with seasonal freezing and thawing, and a product rated only for damp surfaces fails under standing water.
- Skipping the outside entirely. Clogged gutters, flat grading, and blocked exterior drains keep sending water at the foundation no matter how well the interior gets sealed. Homeowners patch the same crack three times before a specialist traces the fix to the outside.
A professional starts by diagnosing where the water comes from, which is the step most DIY attempts skip and the reason they fail.
When to Consider DIY Waterproofing
DIY waterproofing is best if the damage is not significant—just a few small cracks. In this case, they can be easily sealed with silicone sealant. If the problem is more serious, you should call in the professionals.
Why Hire a Professional?
There are several undeniable advantages to contacting a real waterproofing specialist:
- time-saving – professionals will do the work much faster;
- excellent quality of work – masters with experience will do the job;
- guarantee for the work performed.
It is enough to contact the contractor and outline the problem simply. After that, a specialist will come to the place and inspect the work. After agreeing on all the details with the homeowner, the craftsmen will get down to business.
Common Basement Waterproofing Mistakes to Avoid
Many homeowners attempt to fix basement moisture problems on their own, but certain mistakes can make the situation worse over time.
- One common mistake is relying only on waterproof paint or coatings. While these products may temporarily block moisture, they do not address water pressure inside the foundation, which can lead to further damage.
- Another issue is confusing drainage with waterproofing. Drainage systems help manage water, but they do not prevent it from entering the foundation. Both systems often need to work together.
- Using the wrong materials can also reduce the effectiveness of waterproofing. Some sealants or low-quality materials may crack, peel, or lose adhesion over time, allowing moisture to return.
- Finally, ignoring exterior factors such as poor grading, clogged gutters, or high groundwater levels can result in repeated basement flooding even after repairs are completed.
Tips for Preventing Future Water Problems
It is important to have your basement inspected regularly to prevent future water problems. If you notice any cracks, slight darkening of the walls, damp spots, or mould, you should contact the experts immediately. Never delay in restoring quality waterproofing.
Final Thoughts
To waterproof a cellar completely professionally is not just about fighting moisture. With this approach, the structural integrity of the house can be maintained, and the health of the occupants can be protected. It is necessary to understand what exactly led to the basement’s waterlogging and how to solve the problem. You can carry out all the work yourself, or you can ask for help from specialists to ensure that everything is done promptly and efficiently.

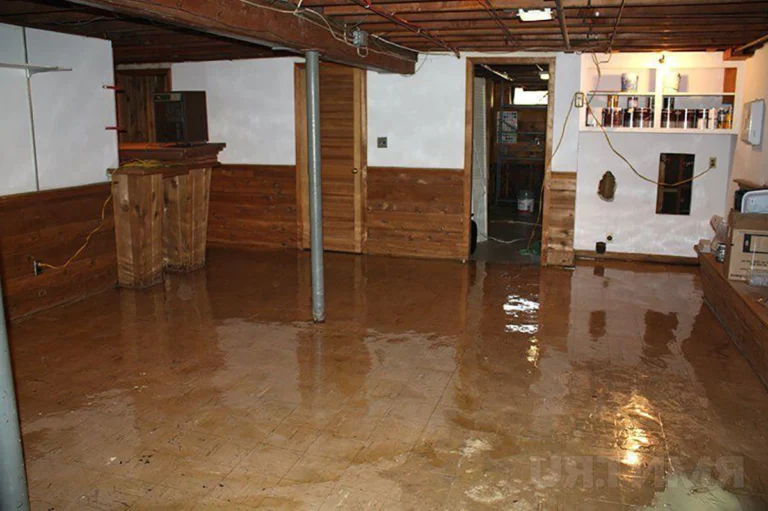
 CLOGGED OR BROKEN WEEPING TILE