
Exterior waterproofing with a new membrane and new weeping tile gives a Toronto basement the longest protection. Interior drainage with a sump pump is the practical choice when digging outside isn’t possible, for example under a driveway or along a wall that sits a metre from the neighbour’s house. Between those two, the answer to what is the best basement waterproofing method for a particular house depends on three things: where the water gets in, whether the basement is finished, and the budget.
Toronto adds its own conditions. Much of the city sits on dense clay soil that holds water against foundation walls for days after a storm, and many houses built before the 1960s still drain through their original clay tile. So the best basement waterproofing Toronto homeowners can get is rarely one product used everywhere. It is the method that fits the house and the way water reaches it.
Where Basement Water Comes From?
Before comparing systems, find out how the water gets in. In Toronto homes it usually comes from one of three sources:
- Surface water. Rain and snowmelt pool against the house when the grading slopes toward the foundation, gutters overflow or downspouts empty right at the wall.
- Groundwater pressure. Clay drains slowly, so after heavy rain or the spring thaw the soil around the foundation stays saturated. That water pushes on the walls and slab until it finds cracks, tie holes or the floor-wall joint. This hydrostatic pressure in a basement is behind most leaks that come back every spring.
- Condensation. Warm, humid summer air meets cool concrete and leaves moisture on the walls. It looks like a leak, but the water comes from the air inside.
Older homes have one more weak point. Clay weeping tile laid in the first half of the last century cracks, shifts at the joints and fills with silt and roots. Once it stops carrying water away from the footing, pressure builds against the wall.
The source decides the fix. Regrading the yard won’t stop groundwater rising through the floor, and a sealer won’t hold back water running through a cracked wall. All the best basement waterproofing methods start with this diagnosis, often simply by checking where water shows up after a heavy rain.
Types of Basement Waterproofing Systems
The different methods of basement waterproofing fall into three groups. They differ in where the protection sits and in what they do with the water:
- Interior sealants and coatings applied to the inside face of the wall to control dampness.
- Interior drainage that collects water after it gets through the wall or floor and pumps it out.
- Exterior waterproofing, a barrier and a new drain on the outside of the foundation that keep water off the wall.
Waterproofing a Basement Wall From Inside
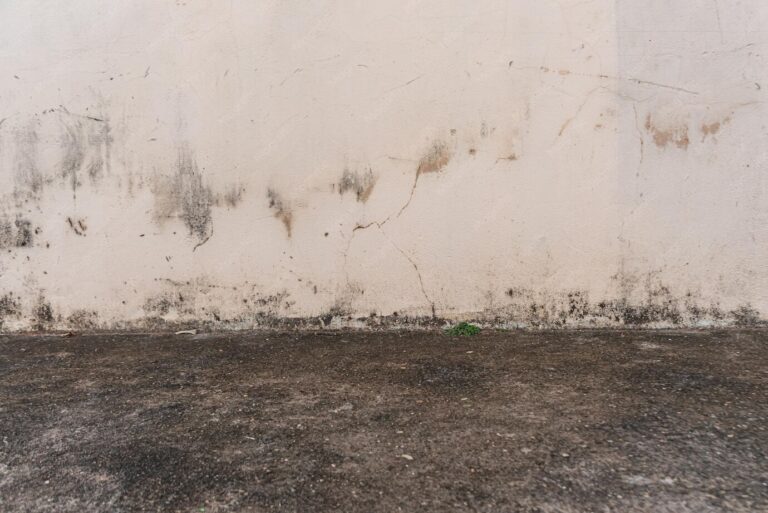
Cement-based coatings, masonry sealers and crystalline products go on the inside of the wall. A good waterproofing sealant handles condensation and light dampness on a wall that never has running water. Problems start when owners try to waterproof basement wall from inside with hardware-store paint on a wall that actually leaks. Water pressure behind the coating pushes it off the concrete, and within a season or two it peels or blisters, often with white mineral deposits underneath.
For active leaks, the inside solution is a drainage system, described in the next section. A basement leak repair that only seals the surface tends to move the water a few feet along the wall.
How to Waterproof a Basement With Interior Drainage
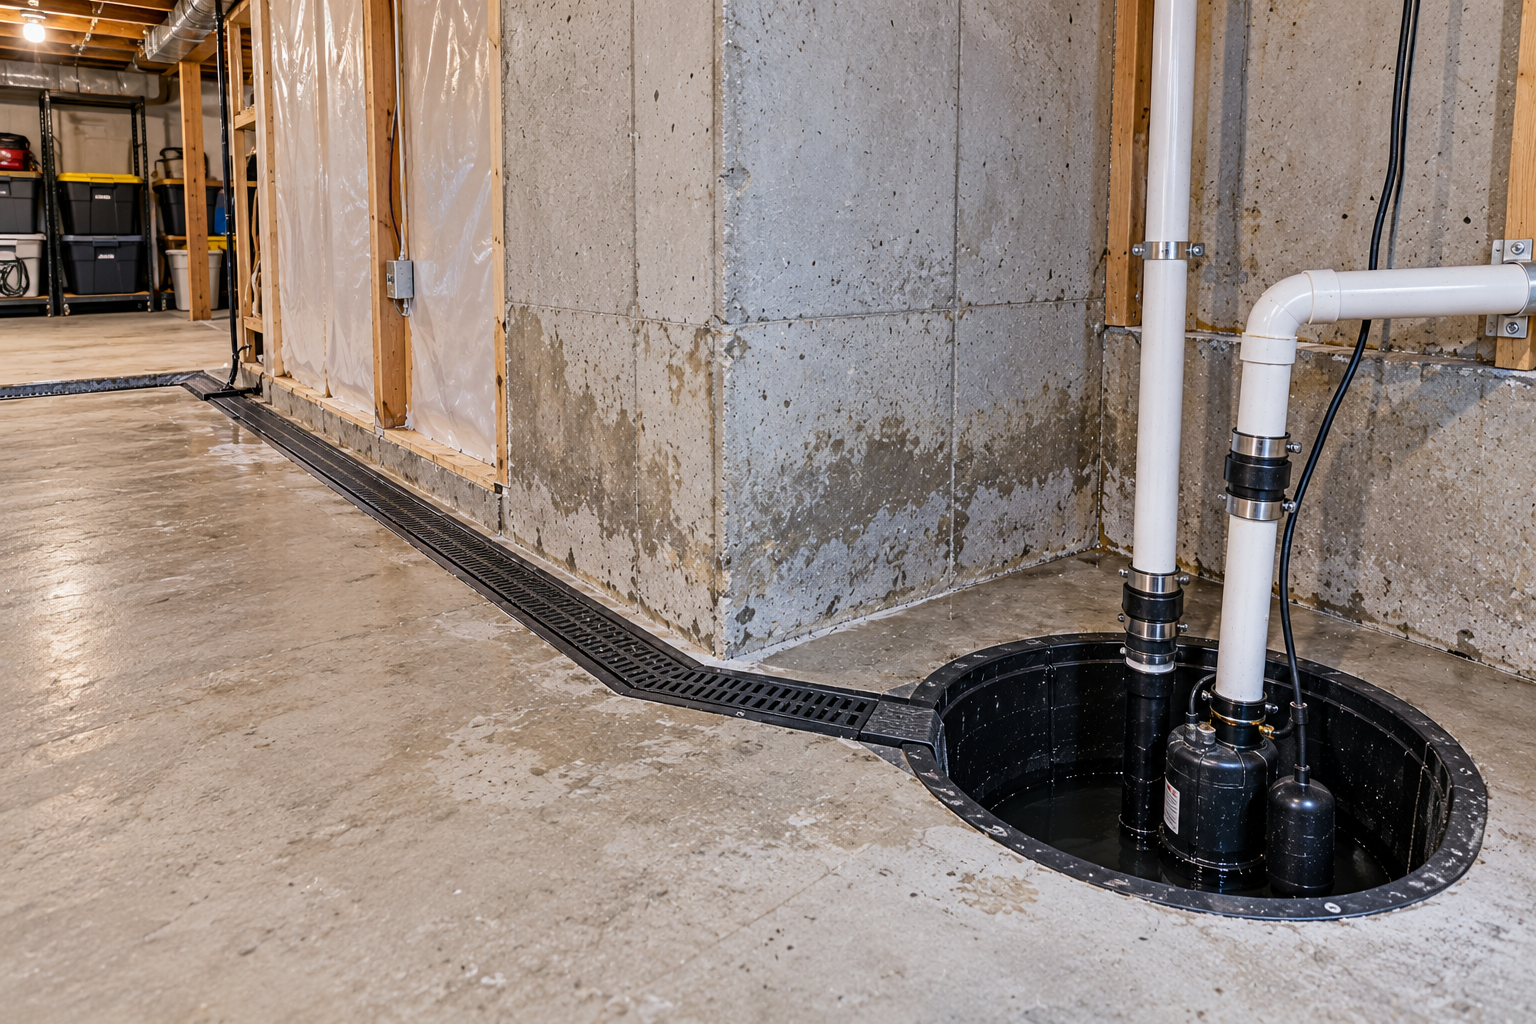
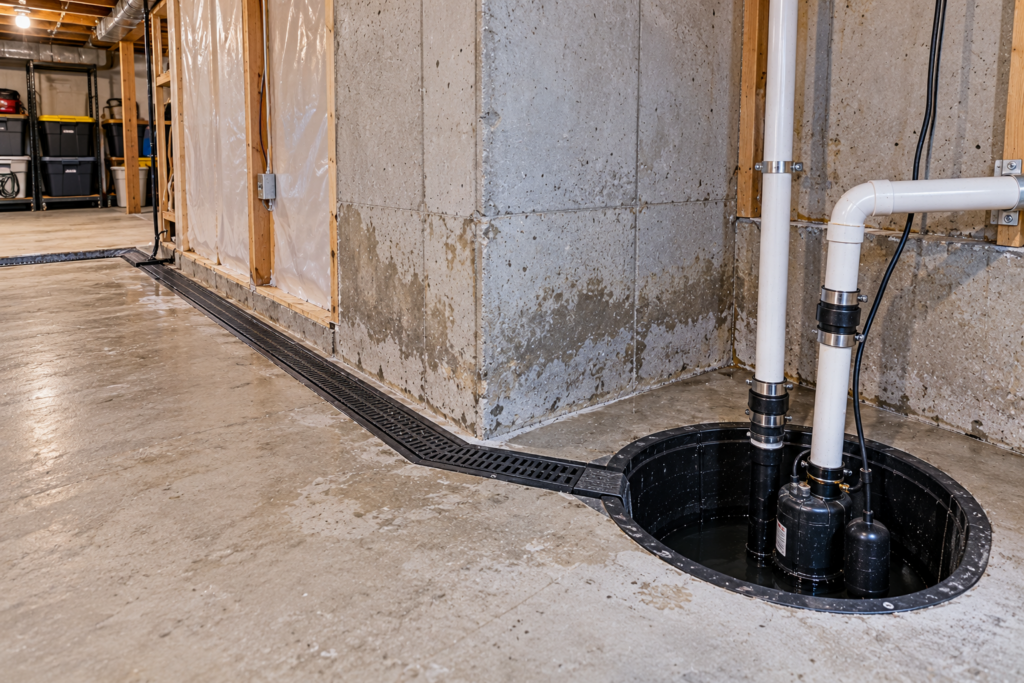
An interior drainage system accepts that water will reach the wall and controls where it goes next. The installation follows these steps:
- cutting a trench in the floor along the perimeter, down to the footing;
- laying perforated pipe in clear gravel beside the footing;
- fixing a dimpled membrane to the lower wall so water runs down into the pipe;
- connecting the pipe to a sump pit with a sump pump and a battery backup;
- pouring new concrete over the trench.
Unlike coatings meant to waterproof basement wall from inside, this system leaves the wall itself damp behind the membrane. It keeps that water off the floor and out of the room, and it works without touching the yard, the driveway or the neighbour’s side.
Among the types of waterproofing for basement floors and walls, this is the one that also handles water rising through the slab. That is why interior waterproofing with drainage is the usual choice in low-lying parts of Scarborough and Etobicoke, where groundwater rises every spring.
Exterior Membrane and New Weeping Tile
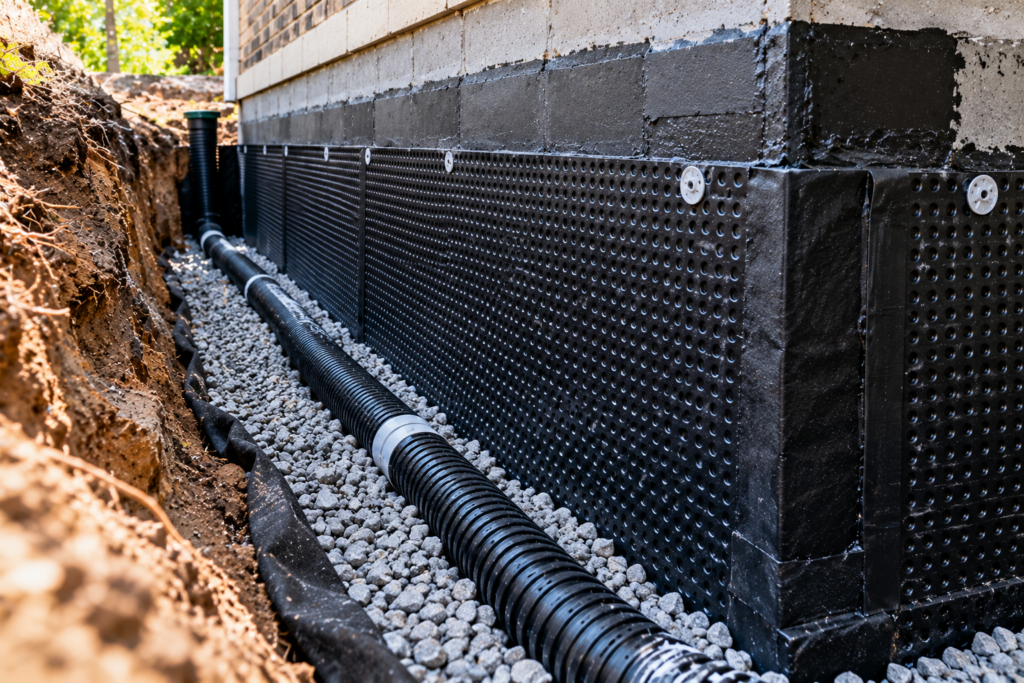
Exterior work stops water before it touches the foundation, which makes it the best method to waterproof basement walls for the long term. A typical job goes through five stages:
- Excavation along the wall down to the footing.
- Cleaning the wall and sealing cracks.
- A liquid or rubberized membrane, covered with a dimpled drainage board.
- New weeping tile in filter cloth beside the footing, tied into a sump pit.
- Gravel backfill over the pipe, then soil graded away from the house.
Older brick and poured-concrete foundations in Leslieville, North York and Etobicoke often need the full process. Their original clay tile has failed, and the tar coating applied when the house was built has dried and cracked. Tar only slowed moisture down. An exterior waterproofing membrane made today stretches over small cracks and stays watertight under pressure, which is why it replaced tar as the standard. Brick and stone walls need a few extra steps, explained in the guide to waterproofing an old house.
Other Waterproofing Methods for Basements
Before paying for the best basement waterproofing Toronto contractors offer, check whether a smaller fix covers the problem. Three targeted options solve a large share of leaks:
- Crack injection. Polyurethane or epoxy is injected into a crack in a poured concrete wall and fills it through the full thickness. It suits poured walls only, not block or brick. Details on foundation crack repair cover which material fits which crack.
- Regrading and downspout extensions. Soil next to the house should slope away from the wall, and downspouts should carry water well past the foundation. In Toronto, downspouts also have to be disconnected from the sewer system.
- Window well covers. A clear cover keeps rain and snow out of the well, so water doesn’t collect against the window frame.
One of these is often enough when water appears in a single spot: under one window, below one downspout or along one crack. When it shows up in several places, along the floor-wall joint, or every spring no matter how you manage the yard, the problem is groundwater, and it needs a full system.
Choosing the Best Way to Waterproof a Basement
Matching what you see to its likely cause is the quickest way to work out what is the best way to waterproof a basement in your own house. When the signs fit both full systems, the choice between interior vs exterior basement waterproofing usually comes down to yard access and finishes. The table below links common signs to the method that usually fixes them.
| Sign | Likely cause | Method |
|---|---|---|
| Puddles on the floor | Groundwater rising through the slab | Interior drainage with a sump pump |
| Water at the floor-wall joint | Hydrostatic pressure, failed weeping tile | Interior drainage or exterior membrane with new weeping tile |
| Seepage through the walls | Failed exterior coating, saturated soil | Exterior membrane with new weeping tile |
| A single crack in a poured wall | Crack through the concrete | Crack injection |
| Damp walls without leaks | Condensation | Dehumidifier, interior sealer, better ventilation |
| Bowing walls or horizontal cracks | Soil pressure on the wall | Structural assessment first, then exterior work with wall reinforcement |
*If two signs show up together, the one that calls for the larger system decides.
Waterproofing a Finished Basement
Exterior work happens entirely outside, so drywall, flooring and built-ins stay intact. For many owners that makes it the best method to waterproof basement rooms that are already finished, even at a higher price per foot. If the yard has room to dig, foundation waterproofing from outside avoids opening the walls at all.
Interior drainage needs the lower part of the finishes removed along the perimeter: baseboards, the bottom of the drywall and the flooring near the wall. After the concrete cures, those sections are rebuilt. The removal and rebuild add to the bill, so compare the full cost of both options, not just the price of the drainage.
The Cheapest Way to Waterproof a Basement
The cheapest fix is the one that matches the source, so comparing the different methods of basement waterproofing by price only works once you know where the water comes from. From least to most expensive:
- cleaning gutters, extending downspouts and fixing grading;
- crack injection for a single crack in a poured wall;
- interior drainage, the lowest-cost full system.
Cheap sealants rarely stop an active leak. Paint over a wall that takes on water usually means paying twice: first for the paint, then for the system the wall needed anyway. Coatings also wear out years before a membrane or drainage pipe, and the difference is explained in how long basement waterproofing lasts.
Common Basement Waterproofing Mistakes
Even the best basement waterproofing methods fail when they’re paired with one of these errors:
- Painting the walls before finding the source. The coating hides the symptom for a few months and the leak returns.
- Ignoring gutters and grading. A new membrane still has to deal with all the water a clogged gutter dumps beside the wall.
- Picking a method by price only. The lowest quote for the wrong method costs more than the right one.
- Skipping a battery backup. Storms that flood basements often cut power too, so any sump pump installation needs a backup that keeps running during an outage.
- Discharging sump water close to the house. The City of Toronto recommends releasing it onto a lawn or garden at least 2 metres from the foundation. Closer than that, the same water soaks back toward the wall.
Timing and Cost in Toronto
Whichever of the types of waterproofing for basement walls fits your house, two practical questions remain: when to schedule the work and how much it costs.
Best Time of Year to Waterproof
Season also shapes what is the best way to waterproof a basement in practice: exterior work goes best from late spring to early fall. Digging is easier before the ground freezes, membranes bond properly in mild weather, and backfill has time to settle. Interior drainage happens inside the house and can be installed in any season.
Plan the work before the spring thaw. Snowmelt and spring rain raise groundwater around the foundation, and crews in Toronto get booked quickly once the first leaks of the year appear. Arranging an inspection in winter lets you start digging as soon as the ground allows.
Basement Waterproofing Cost in Toronto
Leaquida prices for the different methods of basement waterproofing are:
- interior waterproofing: 70–120 dollars per linear foot;
- exterior waterproofing: 100–250 dollars per linear foot;
- crack injection: 500–1,200 dollars per crack.
For a 40-foot wall, that works out to roughly 2,800–4,800 dollars inside and 4,000–10,000 dollars outside. Sump pump installation in Toronto usually runs 800–1,200 dollars with an existing pit and 1,400–2,500 dollars when a new pit has to be dug. The City’s subsidy program can return part of the sump pump and backup cost. A full breakdown by method is in the article on basement waterproofing cost.

 CLOGGED OR BROKEN WEEPING TILE